-
작업실 셀프인테리어1_셀프인테리어 할 공간 둘러보기 및 작업순서정하기Interior 2020. 4. 21. 20:59반응형
안녕하세요~
오늘은 셀프 인테리어를 소개해 드릴까합니다.
놓치지 말고 완성될때 까지 하나하나~ 읽어 주세요.
감사합니다.
작업실이라고는 하지만 사실 별게 없었어요~
원래는 그냥 창고 같은 공간이어서 좁기도하고 굉장히 협소했답니다.
겨울엔 춥고 여름엔 더워서 사실 이 공간에서 뭘 하기가 굉장히 힘들었답니다.
그래서 이미지 만이라도 바꿔보자! 라는 생각에 작업실 셀프인테리어를 진행하게 되었습니다..
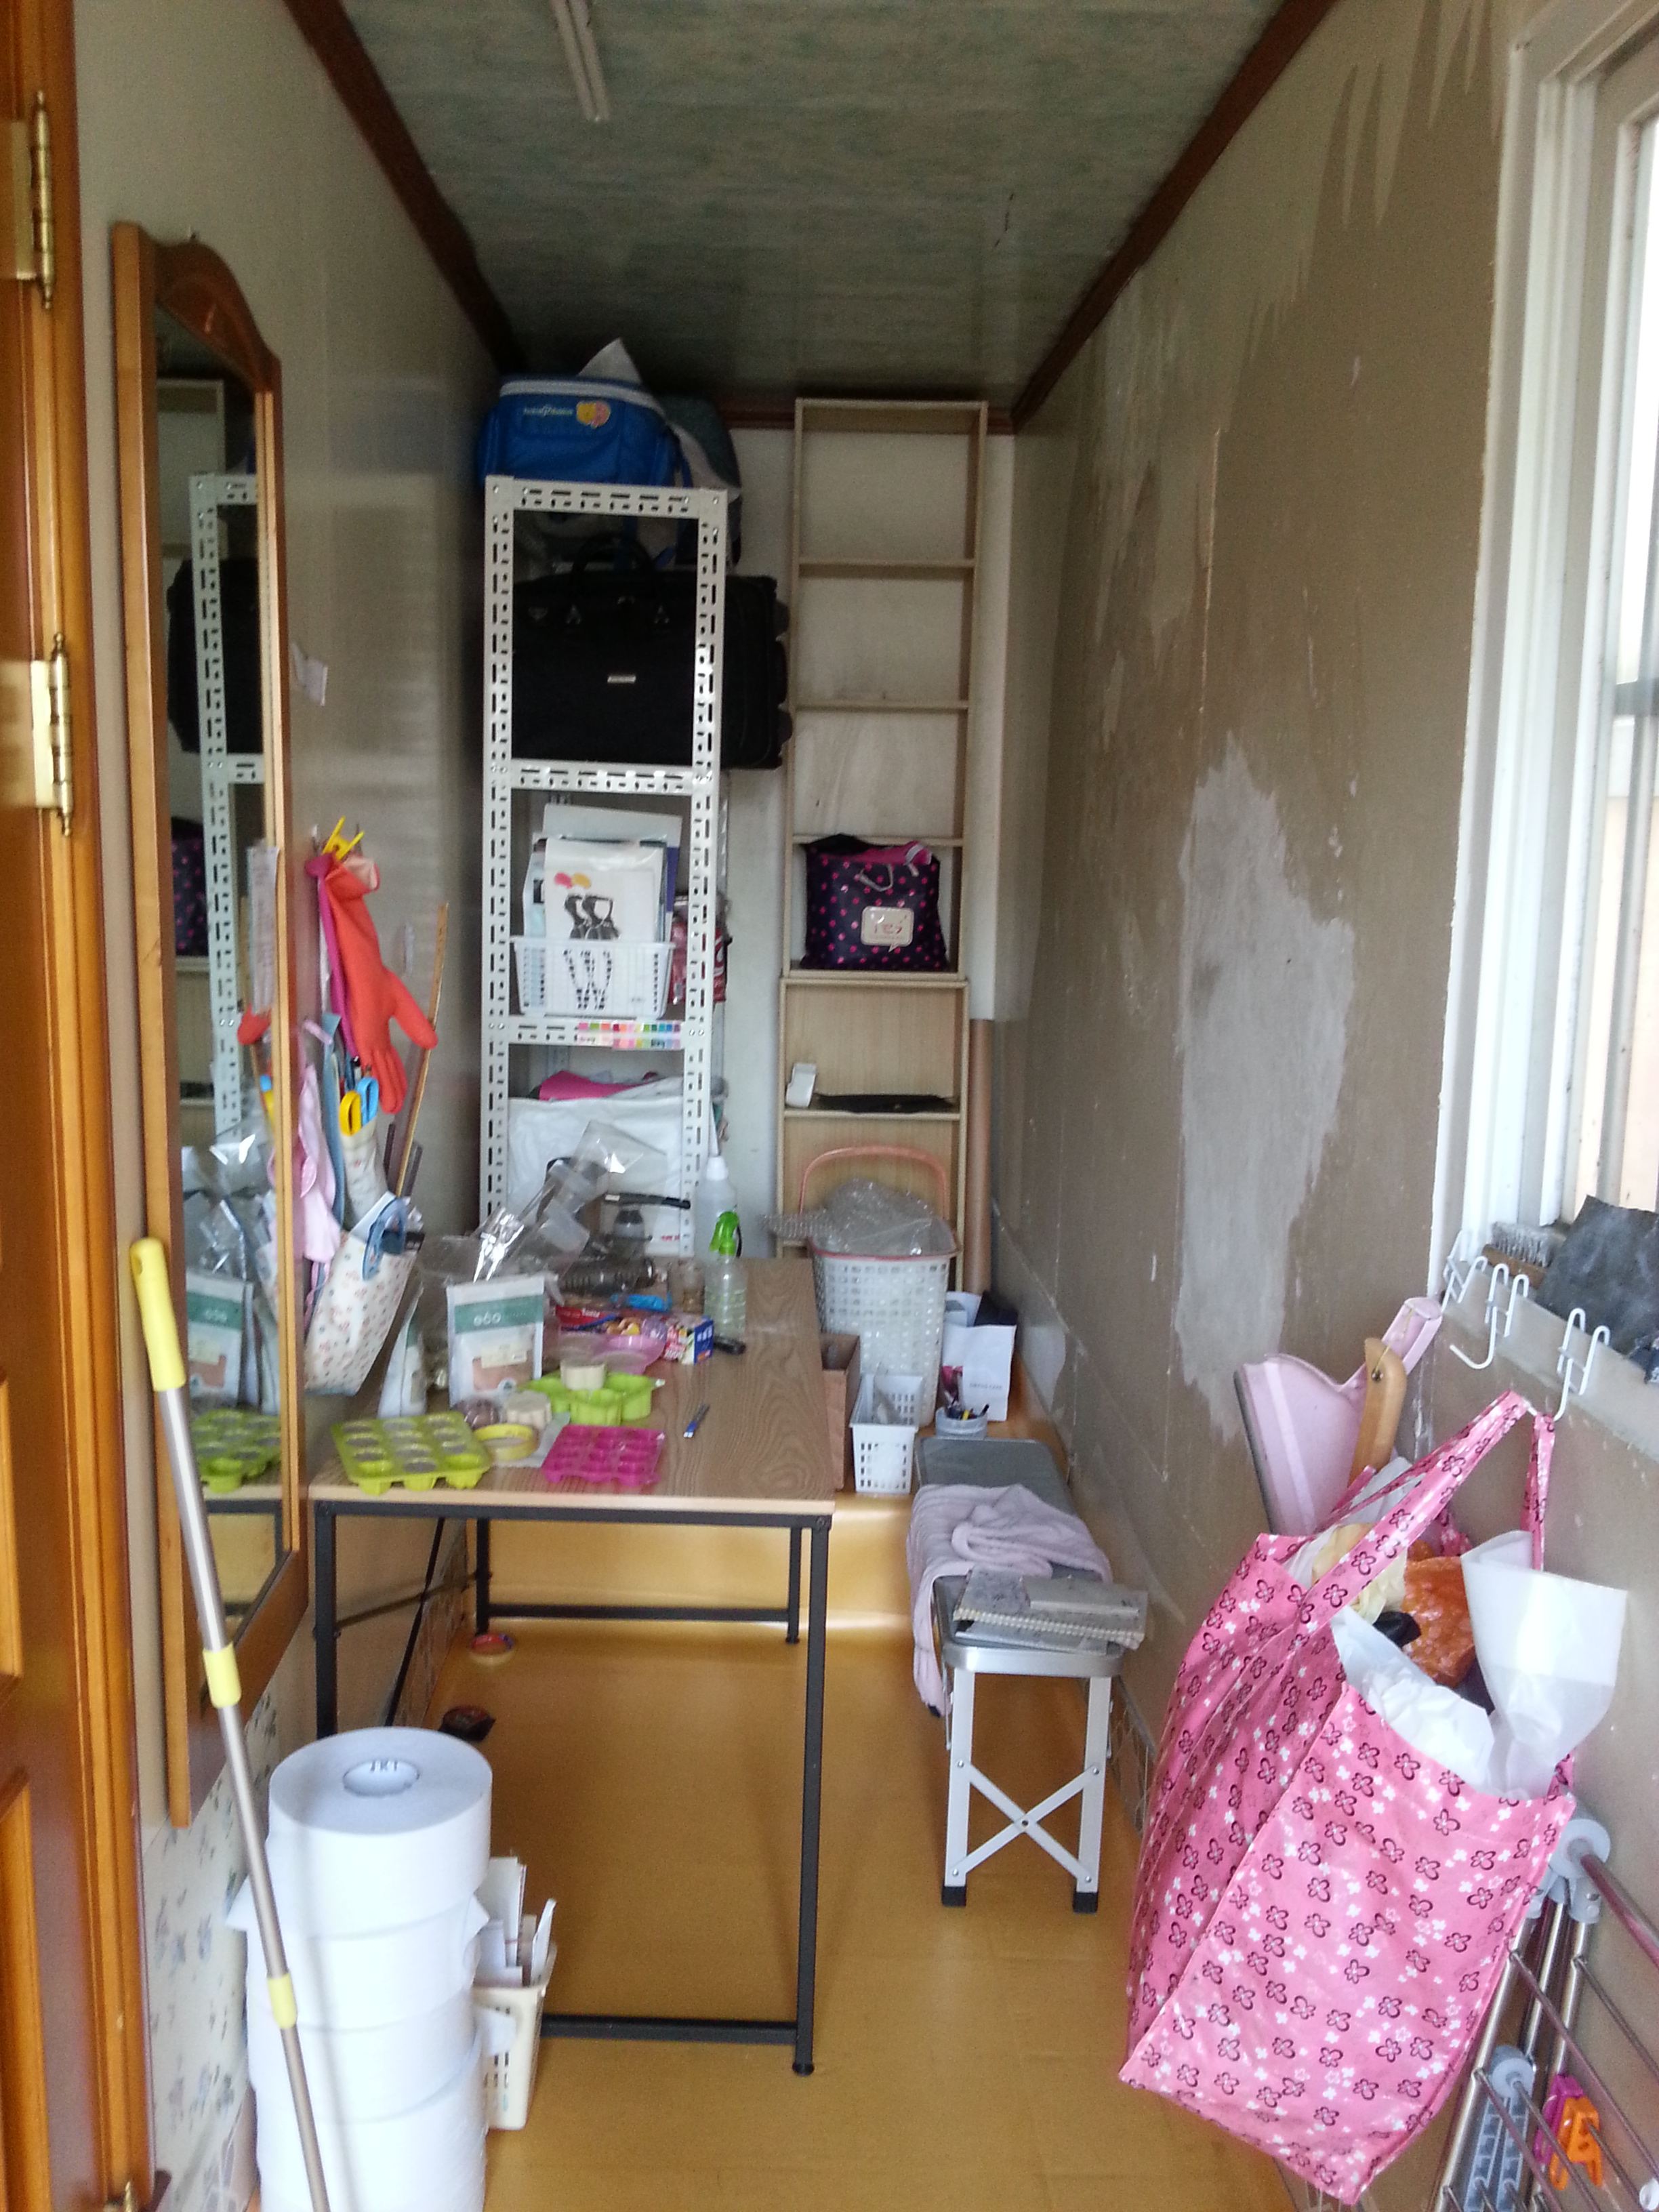
천장도 벽도 낡을때로 낡고, 곰팡이에 누수자국까지 있었던 터라
그대로 사용하기엔 너무 힘든 공간이었답니다.
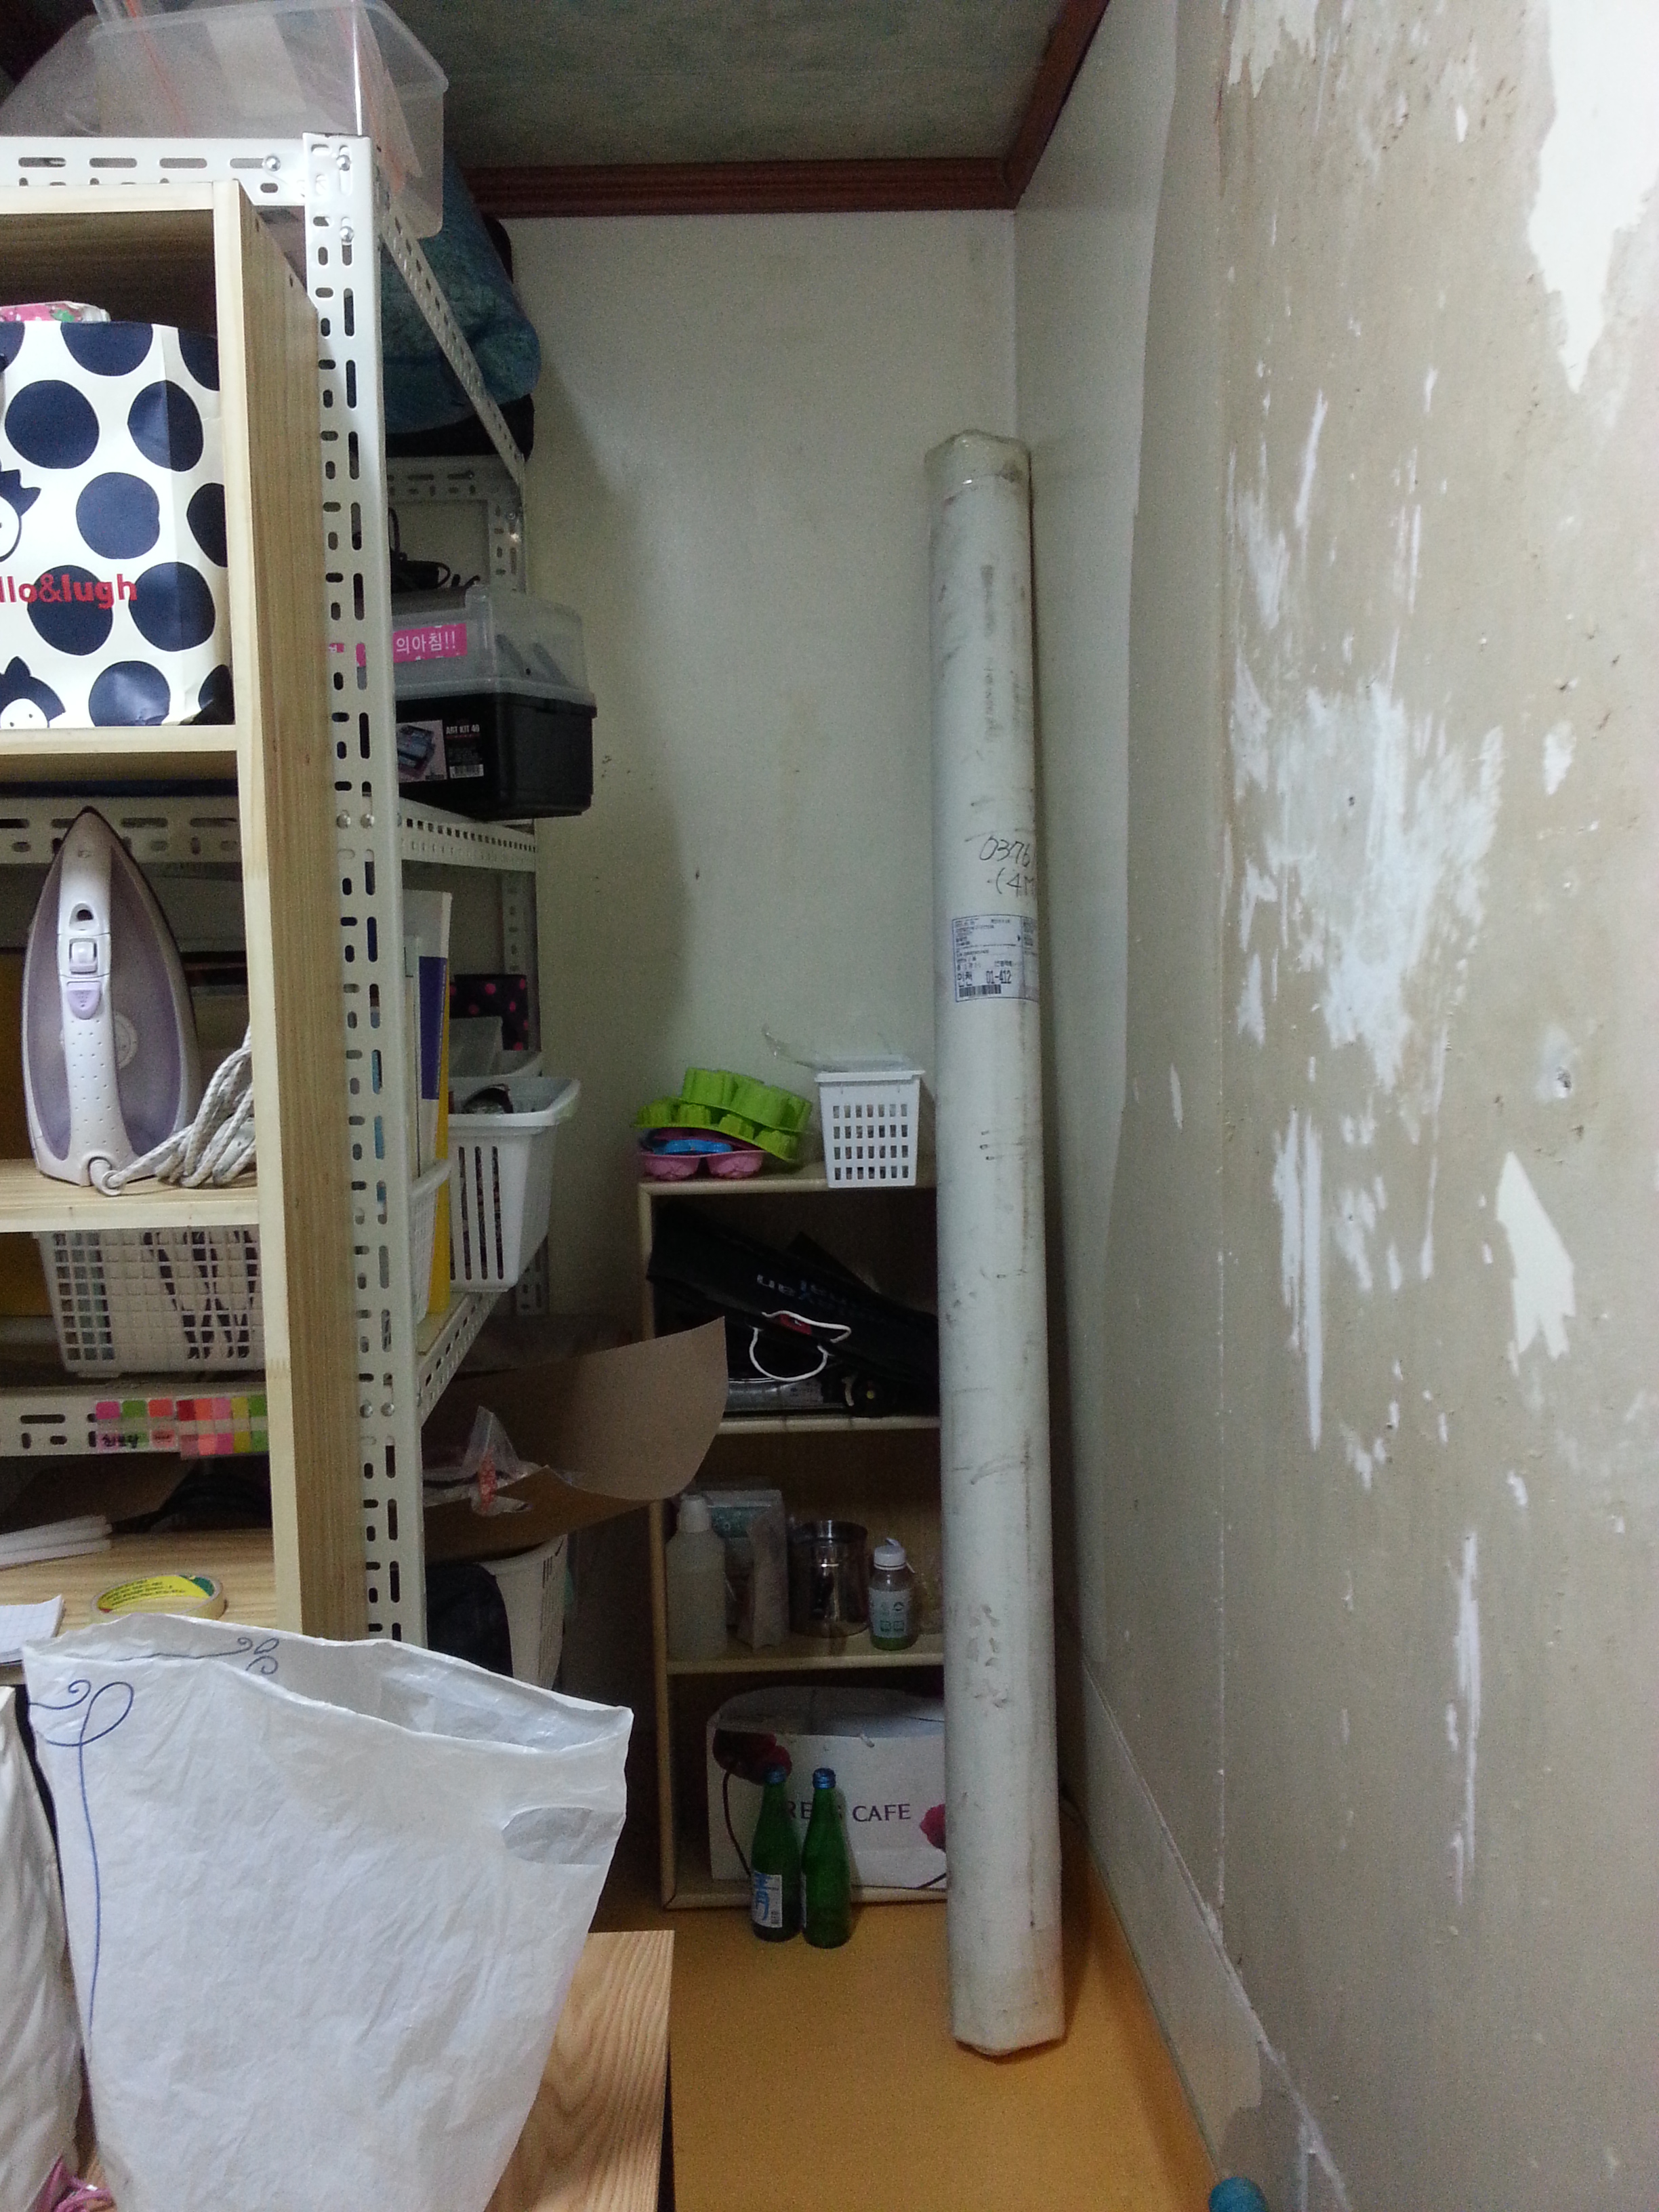
사진으로만 보셔도 아시겠지만 수납공간도 모자라고 전체적으로 작업하기엔 힘든 공간이었습니다.
건물도 오래되고 낡았던터라 바닥에 습기가 차면서 여름엔 벌레도 생기던곳!
그래서 원래는 벽면만 셀프페인팅을 진행하려다가 천장과 바닥을 모두 손보기로 정했답니다.
벽면은 기존의 벽지를 조금 뜯어낸 터라 벽지아래 초지가 그대로 드러났답니다.
벽면에는 곰팡이도 있어서 벽지제거를 모두 하고 곰팡이 까지 제거 해야되는 상황이었답니다.
일단 계획은 벽지제거>곰팡이제거>핸디코트>페인트>천장페인트>건조>바닥재시공
순으로 가기로 정했답니다.
이렇게 기본적인 것부터 먼저 끝내고 난뒤에 천천히 수납공간을 확보해 보려합니다.

바로 밖으로 통하는 곳이기때문에 비가오면 빗물도 들어오고 습기도 차서 결로현상도 생겼답니다.
정리가 필요한 공간이라는 것이 느껴지시죠??
반응형'Interior' 카테고리의 다른 글
작업실 셀프인테리어4_셀프페인팅의 시작/페인트 칠하기& 장판, 바닥재 시공 후 완성된 작업실 모습 (0) 2020.04.21 작업실셀프인테리어3_벽지제거, 핸디코트//페인트 밑작업 완료 (0) 2020.04.21 작업실셀프인테리어2_첫번째 단계시작, 곰팡이 핀 벽지제거 (0) 2020.04.21